Industry
Industry
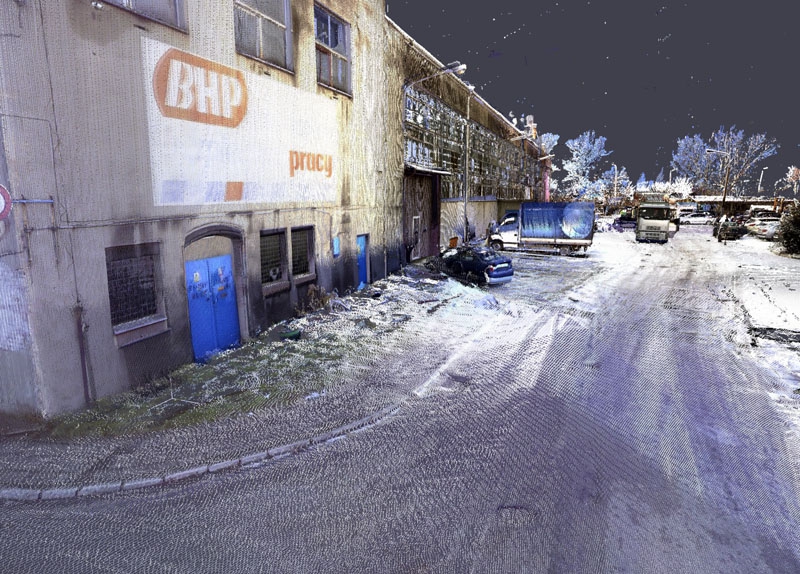
Scanning is used in industry at a large scale. Due to its millimeter precision, detail and comprehensiveness, this method is reliable both in modeling of large industrial facilities and in reconstruction of small elements of high importance in the production process. Scanning records objectively everything and therefore in scanning there are no situations that an inspector using traditional methods has missed some details.
Scanning applications in industry:
- MODELING OF STEEL STRUCTURES
The complexity of machines and pipelines is captured and costly damage to pipelines is avoided.
- MODELING OF MECHANICAL PARTS AND SUBASSEMBLIES
From large collector pipes to small valves, tubes and flanges – millimeter precision.
- MODELING OF POWER PLANTS
Modeling of coal- and gas-fired power plants, hydroelectric power plants, nuclear power plants, wind farms, sun farms, and geothermal power plants. Power plant environments are usually very complex facilities where laser scanning proves to be a high value-added technology.
- SURVEY OF FACTORIES
Scanning can supplement the incompleteness of design plans; next modifications in a factory will be easier and less time-consuming.
- MONITORING OF DISPLACEMENTS AND DEFORMATIONS
Comparison of objects changing over time.
- MONITORING OF THE CONDITION OF BRIDGES
Recording of damage caused, among others, by erosion, recording the condition of a bridge after a shock wave caused by an explosion close to the bridge surveyed, inspection of deformations of elements of a bridge loaded with heavy vehicles.
- PETROCHEMICAL INDUSTRY
Modeling and documentation of oil platforms and refineries supporting engineering processes – detection of conflicting infrastructure.
Survey of overhead crane tracks
Location of the project: The company Aliplast Extrusion Sp. z o.o. in Lublin
Purpose of the project: Pre- and post-completion survey of the crane track
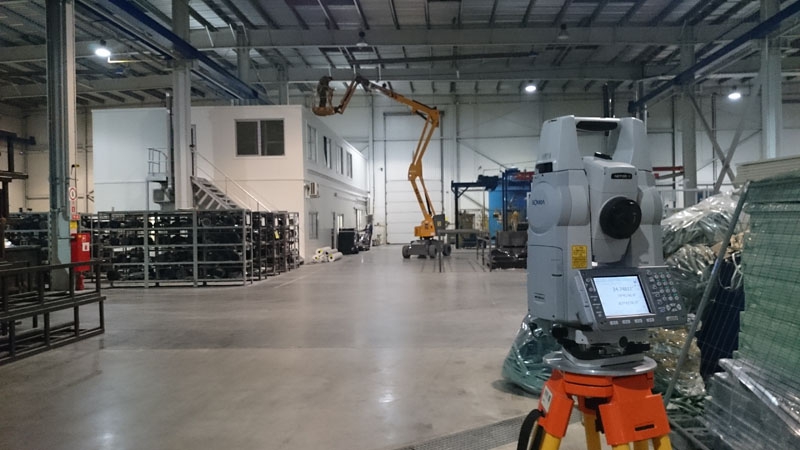
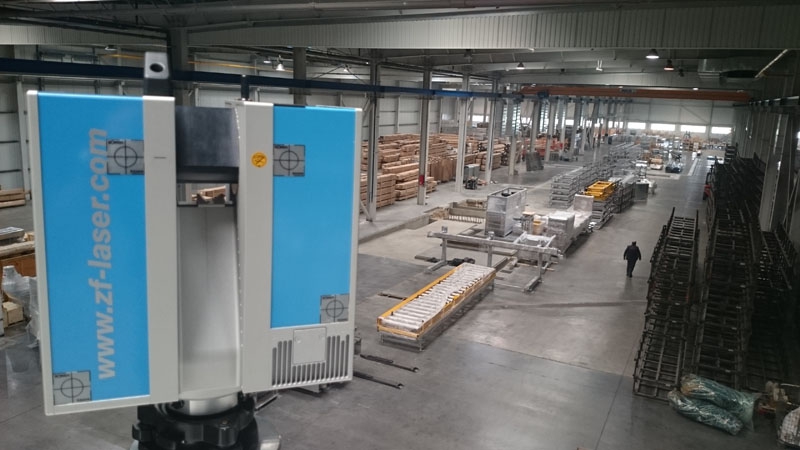
Measuring equipment: Z+F 5010 laser scanner, Sokkia Net05AX total station, Sokkia SDL1X digital level
Measurement time: 2 days, with 6 hours each day
Processing time: 2 times with 1 week each time
Output: 3D point cloud of the track, elevations of characteristic points of the columns and rails, deviations from rectilinearity, track gauge
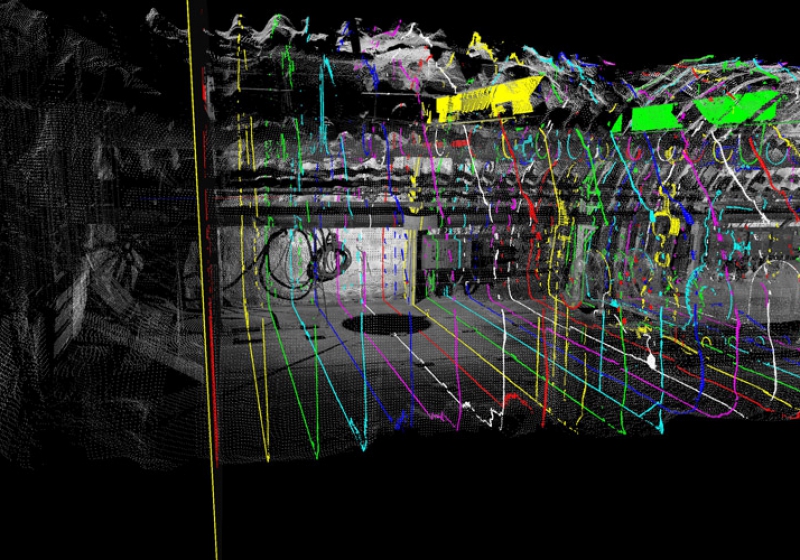
Spatial survey of a pump chamber at the Bogdanka Coal Mine
Location of the project: Bogdanka Coal Mine – Puchaczów
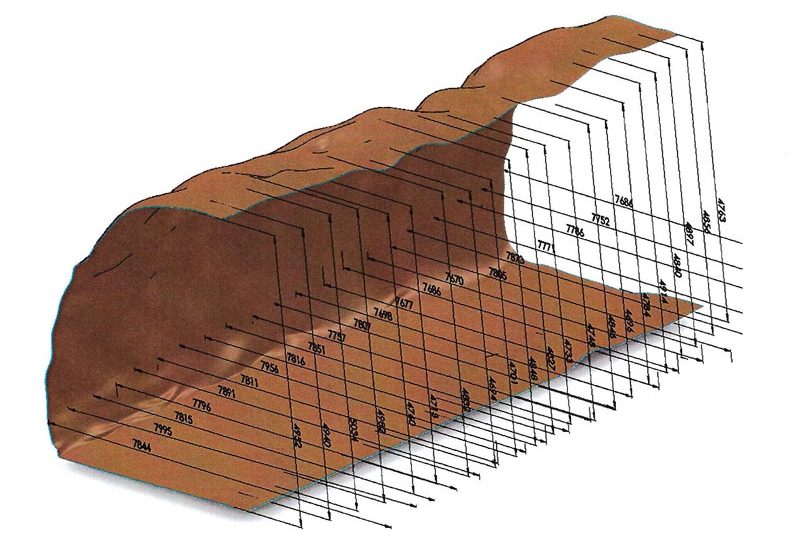
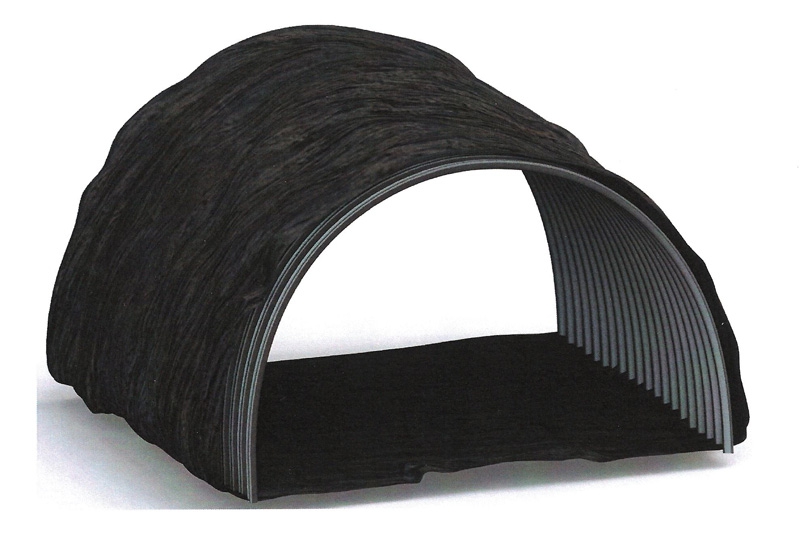
Purpose of the project: Spatial survey of a pump chamber at the 960 level –“Bogdanka” field – for the purpose of designing wall infrastructure (tubings)
Measuring equipment: Z+F 5006 laser scanner, Leica TCRP 1202 total station
Measurement time: 6 hours
Software used: Z+F LaserControl, ASCAN
Processing time: 1 month
Output: 3D point cloud, cross sections every 5 m, orthoimages
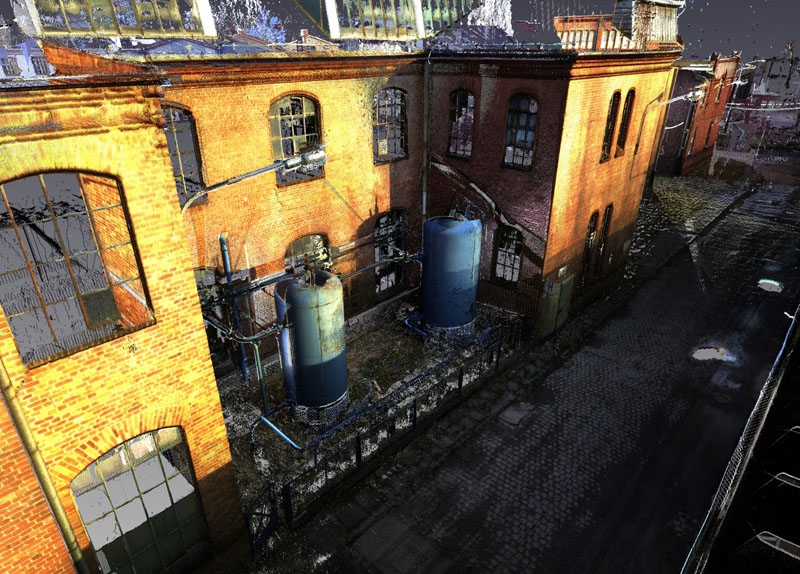
Survey of a manufacturing plant
Location of the project: KOFAMA Koźle S.A., Kędzierzyn-Koźle
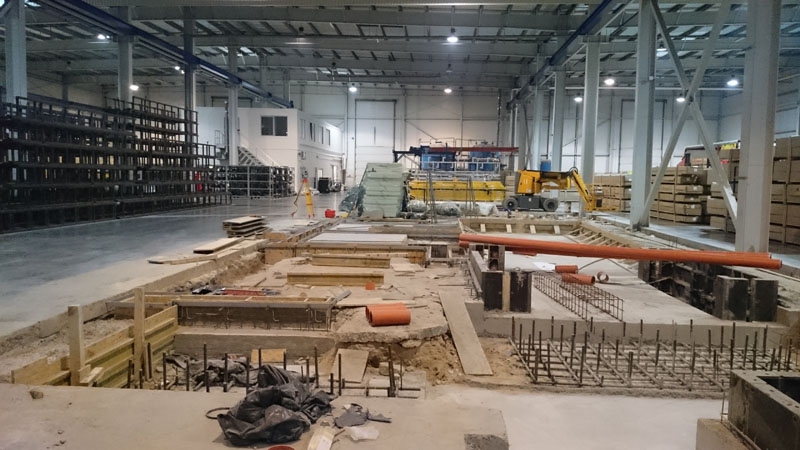
Purpose of the project: 3D survey of the plant’s production halls, survey of the overhead crane tracks for the installation of new overhead cranes, precision placement of new machines
Measuring equipment: Z+F Imager 5010 laser scanner with a M-Cam camera and Faro Focus X330 laser scanner, Sokkia NET05AX total station with 3-DIM Observer software, Sokkia SDL1X digital level
Measurement time: 1 month
Software used: ASCAN, Z+F LaserControl, FaroScene, Bentley Microstation
Measurement time: 2 months
Output: 3D point cloud, orthoimages of facades, setting-out plans, surveying plans,
Monitoring of Displacements and Deformations
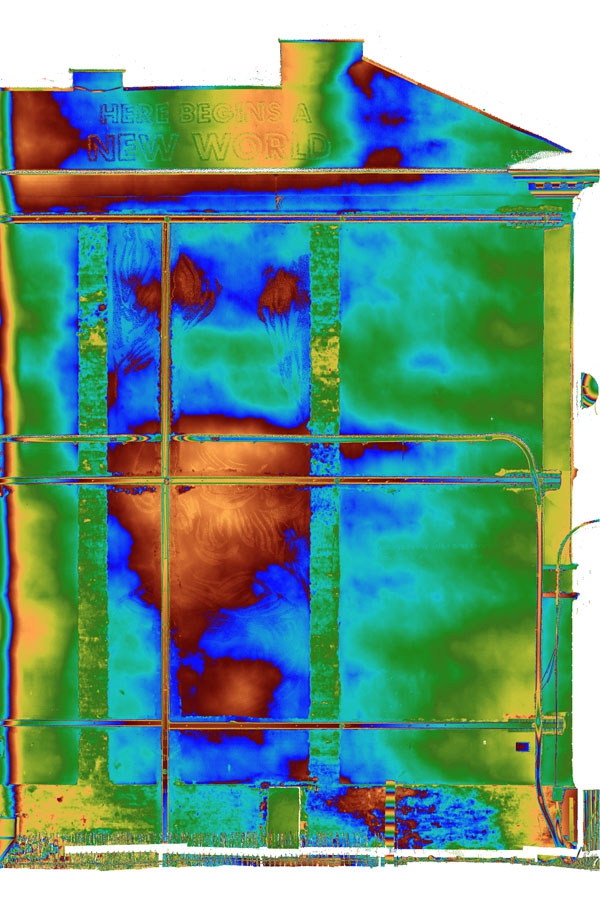
By making periodic scans of a given object, it is possible to determine its geometric condition in time or the level of potential deformation of steel structures, machines, mechanical parts, subassemblies and other. In this way, we can determine the spatial distribution of deformation. The conventional methods do not provide such possibility. They are based on the determination of changes in control points, which gives a very general representation of an object. Laser scanning, on the other hand, provides a highly accurate spatial projection (up to millimeters) which allows us to perform any differential analysis and identify zones that are particularly prone to shape, location or deflection changes.
What does scanning guarantee?
- ASSESSMENT OF THE CONDITION OF AN OBJECT
Structure geometry, foundations. - DAMAGE MODELING
The level of corrosion and areas with significant damage can be measured quickly – this allows us to estimate the degree of degradation of the object and its expected lifetime. - DEFORMATION MONITORING
Assessment of changes in objects over time. - REDUCED NUMBER OF PERSONNEL REQUIRED
Reduced number of persons involved in measurements. - AUTOMATION
Automation of measuring and diagnostic operations. - MILLIMETER ACCURACIES
Accuracies in the order of 1-2mm.
- NON-INVASIVENESS
Scanning offers the best alternative in the market to traditional nondestructive testing methods.
- ECONOMIC BENEFITS
Sufficiently early diagnosis may prevent a potential collapse of a structure.
Visit our profile at Google+
Add us to favorites and keep to date with the last news

